
Editing photographs on today’s powerhouse smartphones is as straightforward as clicking on a filter of your choice. While filters are still powerful tools that can transform an image significantly, they usually do not improve the core characteristics of said image. This is where advanced tools come in which allow users to modify the image on a more granular level. There’s an abundance of applications that let you tap into advanced tools for photo-editing on the App Store and Play Store. Amongst these apps, Snapseed is one of the leading free photo editing apps for both Android and iOS devices. Turning a raw photograph into an aesthetic masterpiece, however, will require some practice and tapping into some of the hidden tools and features. Let’s delve into a few tips and tricks that can assist you to make images social media-ready.
Note: Snapseed is available for Android 4.4 and above and iOS 9.0 and above. Also, note that this Level Up will not consist of basic functions such as brightness, contrast, white balance and more.
SELECTIVELY EDIT AN IMAGE
Basic tools in Snapseed allow you to manipulate merely the main parameters of a photograph. Sometimes, you may just want to apply an edit to a certain portion of the picture and not the entire frame, which is something most commonly-used filters and tools cannot do. Selectively editing a certain portion of an image can make it pop out, or even become understated to maximise the effect of the rest of the picture. There are two advanced tools in Snapseed that allow you to pick what area should receive the edit. The first is the Selective Tool. Go to Tools > Selective, you’ll find a small circle is now placed on the image. Simply drag this target to the desired portion on the image. Now, you can selectively change parameters such as brightness, saturation and more by simply sliding on the screen.
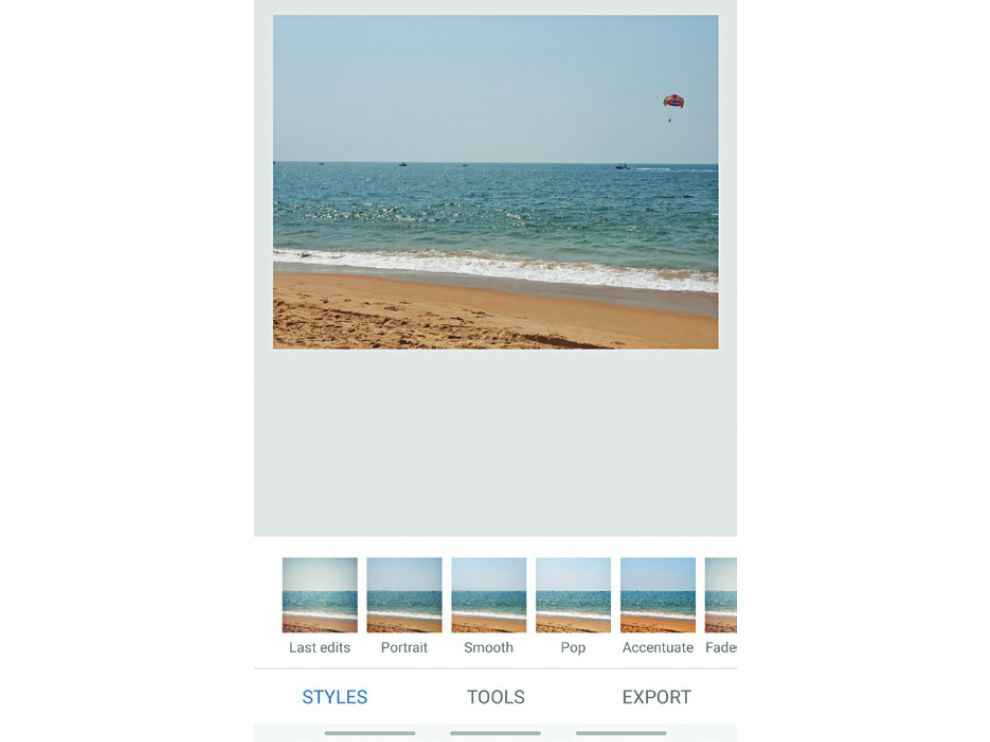

The second tool is the Brush Tool which is also located in the Tools menu. Snapseed gives you the option to apply an array of edits such as exposure, temperature and saturation, using the Brush Tool. Once you select the particular brush you want to utilise, simply drag your finger across the area you want to manipulate. A great example of this is making the ocean pop more by using -10 Temperature Brush Tool. If the colours of the ocean look lacklustre, simply swipe across it using this Brush and the blue will instantly transform into a more dynamic version of blue. Inversely, if you want to make a sandy terrain look more dynamic, simply increase the temperature and swipe across.
REMOVE UNDESIRED OBJECTS FROM AN IMAGE
Much like Photoshop’s Content-Aware tool, which helps you get rid of certain objects in the image, Snapseed sports a pretty powerful Healing Tool which lets you do the same. If you have a few distracting elements in your image, say a few unsightly rocks or wrappers which are strewn across a beautiful landscape, or even people in the distance, you can easily get rid of these inconsistencies or distractions with the Healing Tool. However, while removing larger unwanted objects isn’t impossible, you will have to be extremely precise and patient while removing them. Note that this works best when you have a plain background such as the sky or a wall.
Firstly, go to the Tools menu and select Healing. Zoom into the part of the image you want to rectify and select it with your finger. The part you have chosen will be highlighted in red. As soon as your finger lifts off, the selected portion will be filled with surrounding pixels.
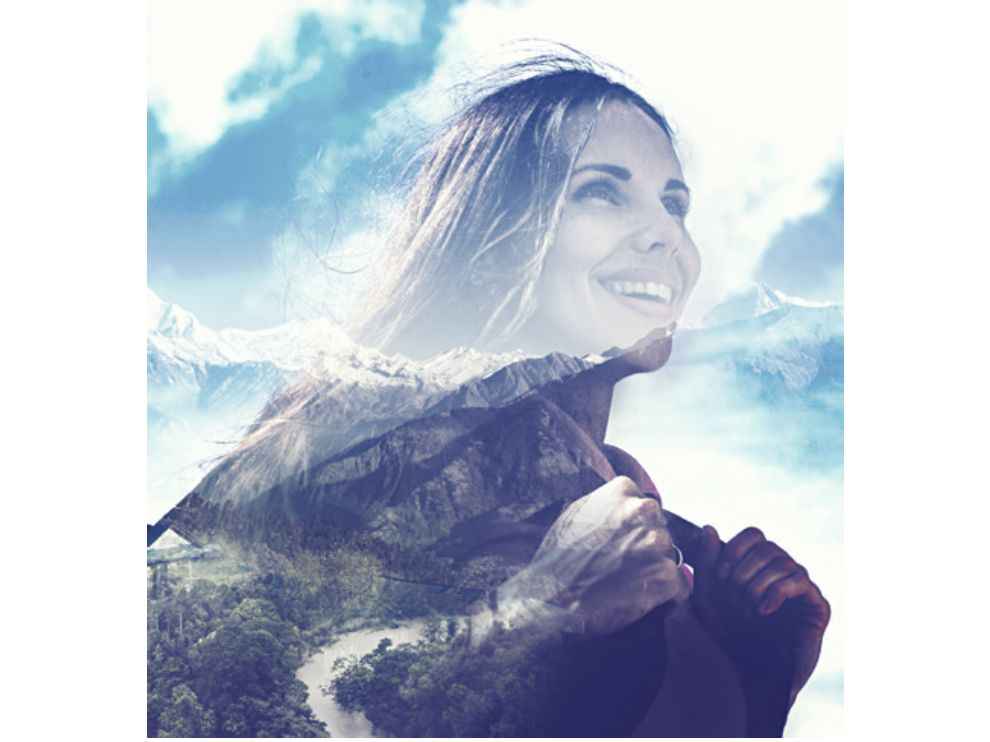
SUPERIMPOSE YOUR IMAGE WITH ANOTHER
Have you ever been fascinated by one of those images which had a scenery or waves captured within a person’s head or a bottle? You can, with some practice, of course, create that aesthetic scene within Snapseed itself. After importing your primary image, all you need to do is head over to Tools and select Double Exposure from the listed items. Next, click the little image button on the bottom with a plus sign on it and import your second picture. Now, you can move about this second image, resize it, adjust the opacity and more, until it fits your intended final result. Snapseed also provides you with a few preset overlaying templates which can lighten, darken or simply overlay the new image.
FORGET CROPPING, EXPAND AN IMAGE
When cropping is too mainstream, go the other way and “expand” an already-captured image. Using some of Google’s mindbending AI magic, the ‘Expand’ tool can easily extend an image’s landscape. How? The AI engine is capable of digitally fabricating the expansion allowing you to create vast, sprawling landscapes even if your smartphone doesn’t have a wide-angle camera. Note: Ensure that the borders of the image are clean and easy to replicate.
CHANGE YOUR IMAGE’S PERSPECTIVE
Say you couldn’t click an image from the angle you hoped to due to restrictions. You can easily swivel the perspective around in Snapseed using the Perspective tool. Usually, in common photo editors, the Perspective Tool leaves a gap in the area that has been exposed due to the tilt you’ve assigned to the photo. Here, Google’s AI prowess comes into play again and the AI engine intelligently fills the gaps.
DRAMATISE YOUR IMAGES
In order to give your images an added oomph, you can use tools such as HDR Scape and Drama. Even if your phone doesn’t come equipped with HDR technology, you can use the HDR Scape Tool to achieve the coveted HDR dynamic range. You can even control the intensity of this tool by swiping left or right to find the perfect balance. The app also offers a bunch of automatic HDR scaping scenes such as Nature, People, Fine and Strong.
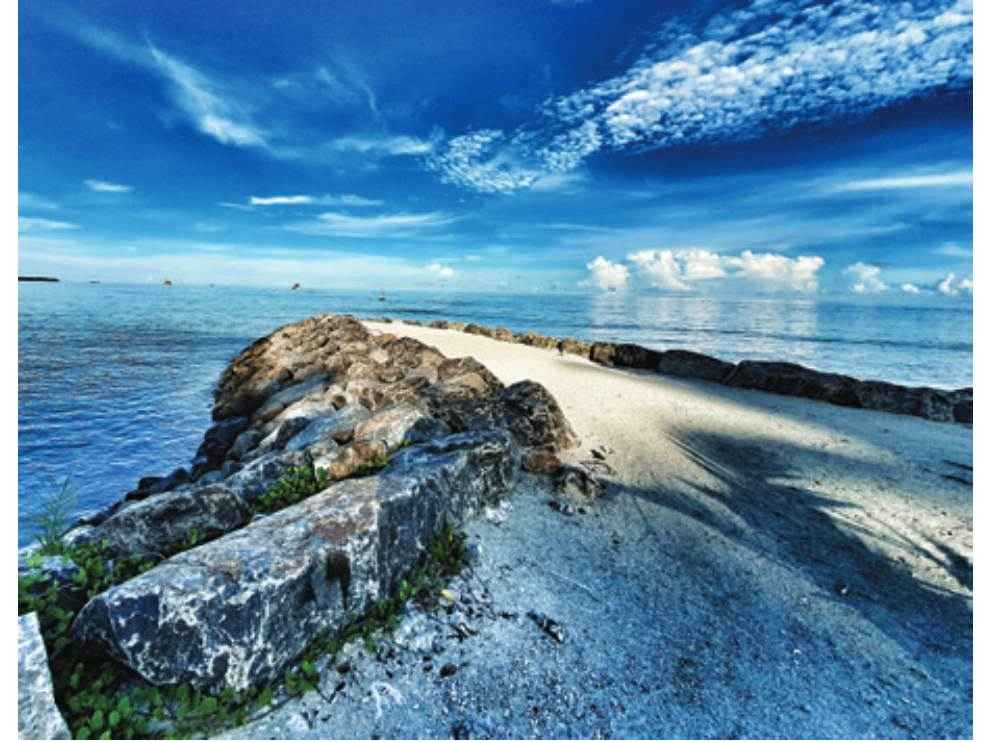
The next tool to bump up the vibrancy and drama of your images is, well… the Drama tool. This tool is especially useful when you have a rather flat image which lacks colour and punch. The Drama tool can revitalise such images by boosting contrast and saturation. Additionally, this tool comes with presets such as Drama 1, Drama 2, Bright 1, Bright 2, Dark 1 and Dark 2, each of which are useful under specific circumstances. We tend to prefer the first four of the list though since the Dark Tools can be a bit too… dark? A bit too gritty for our liking.
INTENSIFY BACKGROUND BLUR
Not happy with the amount of blur or bokeh in your portrait shot? You can heighten this on Snapseed using the ‘Lens Blur’ tool. This tool effectively shifts the focal point of the image and blurs the surrounding areas with as much intensity as you desire. Unfortunately, the app does not allow you to reduce the amount of blur already captured. Nevertheless, this tool works well when you want a viewer to hone in on a certain area of the image.
SAVE EDITED IMAGES IN FULL QUALITY
One of the best features of this app? It allows you to save your final product, which you have toiled to make perfect, in the highest quality possible. On Snapseed, by default, all edited images are saved as JPG files at 95 per cent quality. However, you can change that to 100 per cent in the Settings menu. Simply navigate to Format and quality in the Settings menu. The app will allow you to save JPG images at 80%, 90% and 100% quality. It also gives you the option to save the image in the lossless PNG format but this will increase the size of the file.
TURN THAT FROWN UPSIDE DOWN
If you take tons of selfies, this tool will prove to be immensely useful. The Pose tool allows you to change the subject’s head pose - tilt it in a different direction. More importantly, you can make a subject smile by upping the level of the smile (to a point where it doesn’t look unnatural, of course) and even change the size of the pupils.
No comments:
Post a Comment